Beginner Tips: Camera Settings (Aperture, Shutter Speed & ISO)
 When you set out on a path to enjoy photography, either as a hobby or as a profession, it is very important for you to get familiar with the equipment that you use on a day-to-day basis. This means that you simply must take some time to get used to the various settings available on your DSLR. However, it’s not always easy to sort out which camera settings you should fiddle with, and which settings you should leave alone for the time being.
We believe that it is of the utmost importance for our readers to get familiar with the aperture, shutter speed and ISO settings. These three settings can make a world of difference, and knowing how to set them manually can mean the difference between so-so photographs and amazing shots that are sure to impress anyone who sees them. To help you out with getting familiar with these settings, you need to check out the following video by CamCrunch (www.camcrunch.com).
httpv://www.youtube.com/watch?v=jg4DRlDTglA
This video, of course, is not an in depth guide on how to do all things related to your aperture, shutter speed and ISO settings. However, we think that this video is a good primer to get you all familiar with these all-important technical features of your camera. It will take you some time to find the exact settings that are right for the type of photography that you like to pursue – i.e. macro photography, portrait photography, landscape, or just snapping fun family photos. When shooting macro photos, we typically adjust the camera settings in the following order –
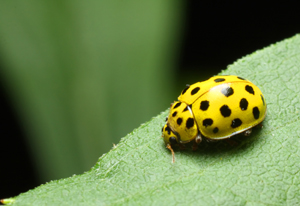
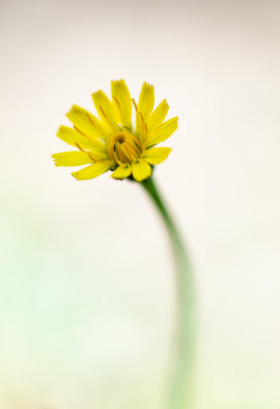
- Aperture – This will control the depth of field (amount of blur of the background). eg. Quite often in macro photography we use a wide aperture – 2.8 or 5.6
- Shutter speed – This will control how fast your camera takes the photo. For faster moving bugs or if its a windy day, we would generally bump up the shutter speed to ensure that there is no movement blur.
- ISO – This will adjust the light sensitivity of your camera. When adjusting the ISO, there is a down side to using a very high ISO. The definition of ‘High’ will depend on your camera – some cameras do not perform well at all above ISO 400. Some of the more professional cameras can handle ISO settings higher than 1600. When your ISO setting is bumped up, you will start to notice more ‘Noise’ on your photos. These are essentially color grains/fine dots all over your photo.
If you learned a bit about how to take better pictures from this video post, please help out your fellow photographers by clicking on the share button. By sharing this video you’ll help other budding photographers on their path to capturing the best photographs possible, and avoiding spending too much time trying to figure out why their shots aren’t looking as good as they could/should. We’re sure your friends will thank you for sharing such valuable information with them!
Recommended reading –
Scott Kelby’s Digital Photography Boxed Set