Close Up Photography – How To Photograph Bubbles Tutorial
Close Up Photography – Bubbles makes great photography subjects.
This close up photography tutorial will teach you about bubble photography. This is a super fun project that can be performed indoors or outdoors. For this close up photography idea, we recommend that you do it outdoors as it can get fairly messy when you are lost in your little world blowing bubbles!
Since spring is well and truly here (at the time of writing) this tutorial will hopefully provide you with an excuse to head outdoors, enjoy the sun and most importantly have some fun! Blowing bubbles is fun for both adults (for those who admit it) and children, so this is a great opportunity to also involve the younger ones in the family.
Photographing bubbles is not rocket science – everyone including beginners can learn how to take great shots of bubbles! Before we get into the tools/equipment and ingredients that is needed for this project, here are some quick macro photography tips –
Close Up Photography – Tips On Shooting Bubbles
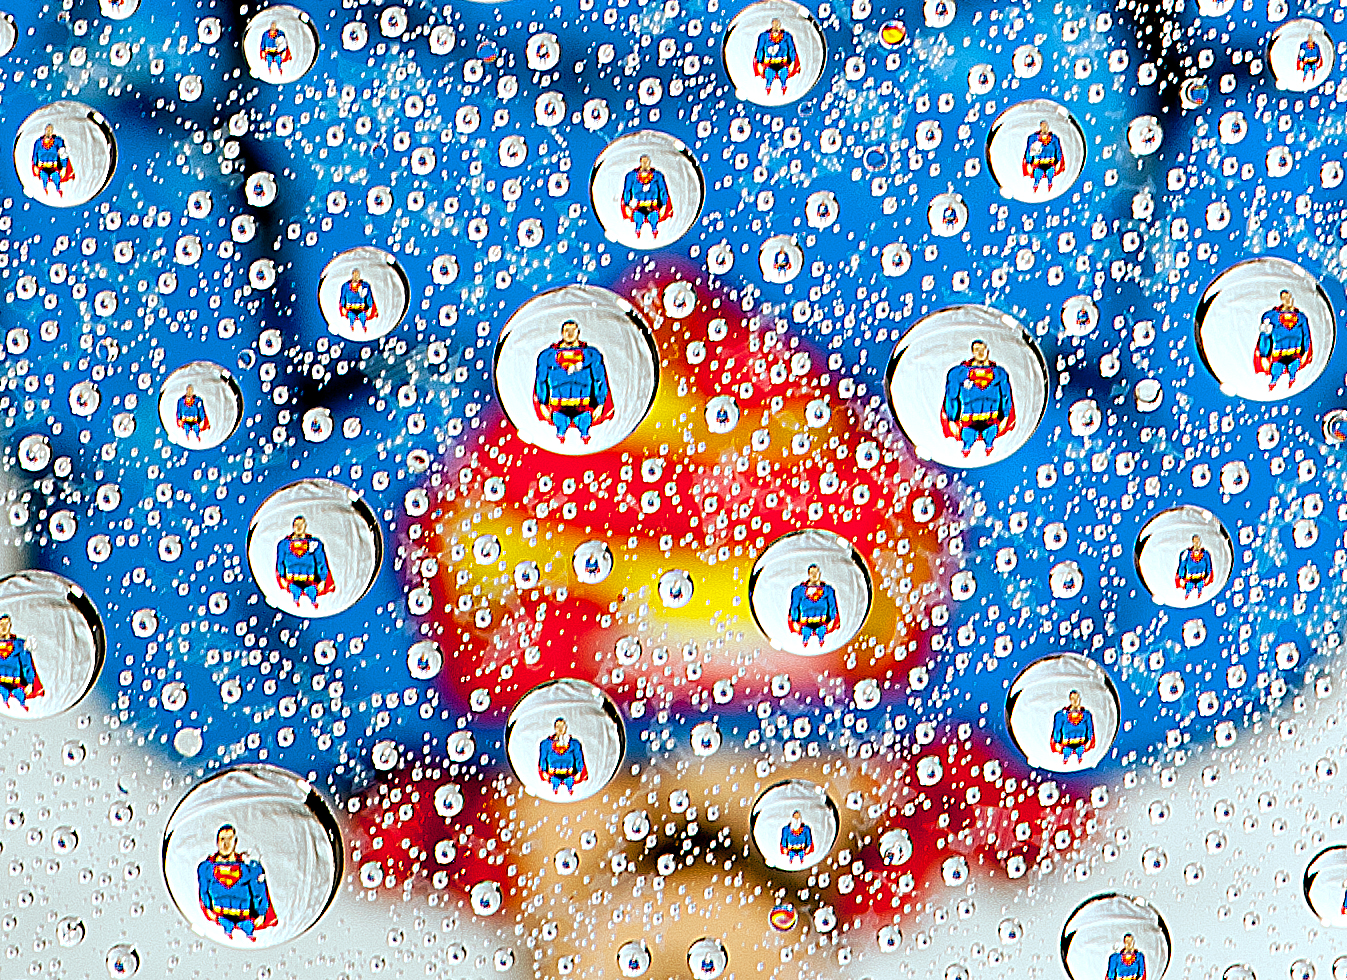
Be creative when doing close up photography with bubbles
- Bubble photography is all about having good lighting conditions.
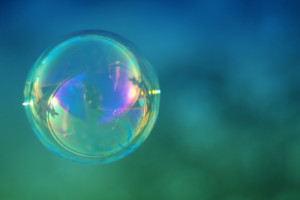
- Ideally shoot during the early mornings or right before dusk. The natural morning sunshine does a good job at lighting the bubbles. The sunshine right before dusk provides darker backgrounds which will bring out the colors of the bubbles.
- Ensure you take photos of your bubble against a darker background to bring out the swirly colors of the bubble.
- Choose a day that’s not as windy as this will allow you to blow bigger bubbles.
- Try to avoid dry and hot days as your bubbles will pop quicker.
- Try different mix ups of your bubble solution as this may affect how big or long the bubble lasts for. Adding glycerin to your bubble soap solution will help it to get stronger and last longer.
- Regardless of the shape of your wand, the bubble will always come out ROUND.
- You can never get bored with photographing bubbles. There are just so many different things you can do with bubbles. Try the following macro photography ideas –
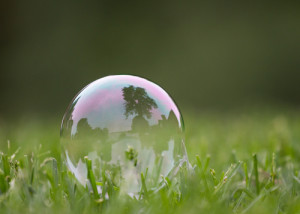
- Try composing your shot with a reflection on a bubble.
- Try composing your shot with it resting on the ground/grass.
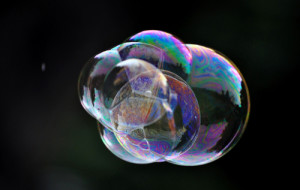
- Try capturing the moment when the bubble pops.
- Try blowing bubbles inside bubbles.
- In freezing conditions during winter, try letting the bubble freeze. You will be wowed by the texture that this creates.
What Is Required?
- Pre-made solution:
- Bottle of soap bubble solution – this can be found at any stores in the kids / toys section. This should come with its very own wand.
- A few drops of glycerin – this can be purchased at Walmart or hop on over to Amazon here
- OR Home-made solution:
- 1 cup water
- 2 tablespoons of glycerin
- 4 tablespoons of dish washing liquid
- 1 pipe cleaner to form the wand. This is just a very flexible and bendable piece of metal.
Tutorial Steps
Close Up Photography Tip – Add glycerin to your bubble solution to make them stronger.
- For the home-made solution, first create your bubble soap solution by adding water, dish washing liquid and glycerin together. For the pre-made solution option, add a few drops of glycerin into your pre-made bubble soap solution. Adding glycerin to the solution will help the bubble to lasts longer.
- Mix well.
- For the home-made option, you will want to bend your pipe cleaner to form a round wand at the top.
- Dip your wand into the solution and start blowing!
- Grab your camera and start composing your next masterpiece! Remember the photography tips from above.
What Camera Settings Should I Use?
Unfortunately there is no golden camera setting for every bubble photography project. The setting will be dependent on the lens used and the amount of light there is when you are shooting. As a start, we suggest using the below settings. You will need to adjust it accordingly to obtain the outcome/exposure you are after –
- Aperture: f5.6 (You will typically find that the reflections on the bubble will be stronger if you use smaller apertures such as f9.0)
- Shutter Speed: 1/200 sec
- ISO: 200-400 (some cameras at ISO setting of 400 will be quite noisy/grainy so make sure you check the preview on your camera to see if it is acceptable first)
It will be somewhat of an experiment and you may need to do this by trial and error, but if your photo is looking blurry you can either open up your aperture to let more light in. If it is still blurry, you could increase your shutter speed and then compensate by increasing your ISO.
Hopefully you survived through the close up photography tutorial – chasing bubbles around for the whole day can sometimes be very tiring! So it is now time to sit back, relax and take some time to admire your photos. Remember to share some of your photos with us!
For more fun tutorials, sign up to our newsletter and we will let you know when our next tutorial is ready!
Our recommendation: