Simple Water Drop Photography Tutorial (Part I)
by Greg Easter of Natures Pic
Simple Water Drop Photography by Greg Easter
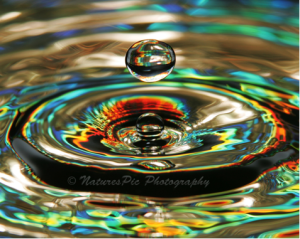
This is a fascinating video tutorial on how to produce stunning simple water drop (Part I) and water drop collision images (Part II). There is a difference between the two. A water drop is just that; a water droplet hitting a pool of water. Don’t get me wrong; as you will see in the images, a drop of water can be breathtaking.
A water drop collision is two or more water droplets colliding. One drop of water comes down and hits the pool of water, then makes a pillar. The second drop then collides with the pillar, producing erratic formations. A beginner can produce beautiful images of water drops, but to produce water drop collisions it will take a little bit more effort, as I will try to explain later in the tutorial. Remember… it’s all in the setup. Let’s get started!
Producing a Water Drop Image
Creating water drops is simple and fun – I actually make them on my kitchen table!
Equipment you Will Need
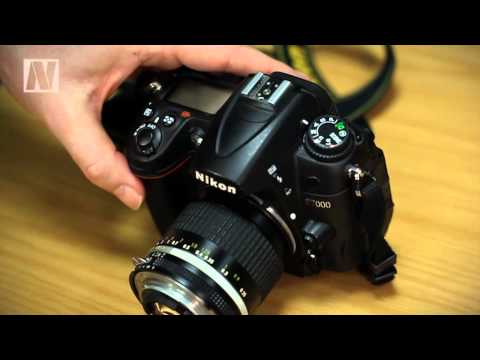
- Camera with a zoom lens. I use a 180mm macro, but I have also used a 24-200 mm lens.
- Cable release.
- Tripod.
- Flash: I use a pocket wizard to trigger my flash and camera so I can point the flash in many different areas of the backdrop (Mylar paper), to get different results.
- A dish pan to hold water. (Black preferably)
- Mylar paper you get from the dollar store. (the silver looking wrapping paper that has the color of the rainbow when you move it around)
- Cardboard for the backdrop to clamp or tape the Mylar paper to. (and clamps)
- Baggie and tape
- Anything you can use to hold a baggie of water above the dishpan. Be creative. I use a microphone boom.
- A needle to poke a hole in the baggie.
- Pencil for focusing. I will explain later in a short video.
- One of the most important pieces of equipment is a towel.
- Last thing… WATER!!!
OK, here we go!
httpv://www.youtube.com/watch?v=XUuHFW56Msc
Step by Step Guide on Water Drop Photography
- Fill the dishpan almost to the top with water and set it on the table.
- Clamp or tape the Mylar paper to the cardboard and put behind the dishpan of water. (Backdrop)
- Take the baggie of water -that is taped to seal the water in- and hang it over the dishpan of water.
- Poke a hole in the baggie of water so that the drops are dropping in the middle of the dishpan.
- Set your camera and tripod at an angle that you can only see the drop of water and not the dishpan or backdrop. Approximately 2 to 3 feet away from dishpan. (See setup image.)
- Take a pencil and hold it where the drop hits the water. With the camera in auto focus, focus on the pencil and then switch to manual.
- Camera settings. Manual, ISO 200-400, 1/250 sec, or faster, aperture 11 to 16. Play around with the settings.
- The flash I set to manual, 1/16 or 1/32
- I turn off almost all lights in the kitchen except for one over the sink, just enough to see the drop hit the water.
- With flash in one hand and the cable release in the other hand, point the flash at the backdrop and pay attention to the rhythm of the water dripping into the dishpan. Snap away. Experiment with the settings until you get the right exposure.
- Remember, LOTS OF PATIENCE! Most of all have fun!
If there are any questions on this tutorial, please ask and I will be more than happy to answer them. By the way, my name is Greg Easter. I can be reached on my website www.facebook.com/naturespicphotography .
—————————————
<Seeing in Macro> Many thanks to Greg Easter for sharing his water drop photography knowledge with the Seeing in Macro community. If you enjoyed this Simple Water Drop photography tutorial by Greg, stay tuned for Part II! Greg Easter will be back to share how he produces stunning Water Drop Collision photos in Part II. Here is a sneak peek of what those water drop collision photos look like –

You may also be interested in the following tutorials to help you improve your macro photography –
1. Macro photography Technique – How to Reverse your Lens
2. Create a Natural Indoor Macro Studio
3. Photoshop Tutorial – How to Turn Your Photos Into Masterpieces