Macro Photography – Water Drops Photography Video
Water drops photography
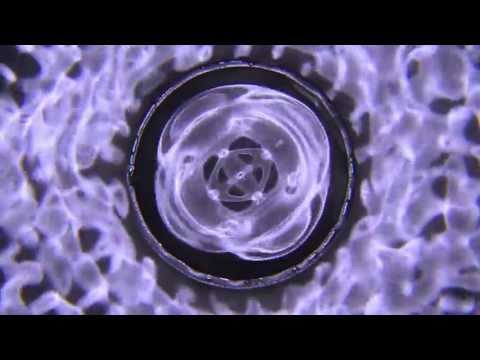
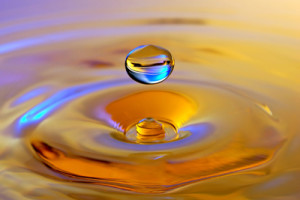
Water drops photography is another fun and interesting project that you can try in the comfort of your own home. Water drops photography is taking a photo of the splash caused by a water droplet falling into water. It sounds easy but it sometimes boils down to the right timing and luck. What we like about this project is that it gives you the hands on experiencing on how you can freeze motion / water. More importantly, it gives you the opportunity to play around with some of the high-speed settings on your camera.
Water Drop Photography Setup
- Container for water – Paint tray (A dark color preferred eg. black – you want to avoid containers that will allow light through the sides as this will result in uneven lighting)
- Background – Color or pattern paper (to be reflected onto the water)
- Small plastic bag filled with water to create the dripping drops (Alternatively you can manually create your drops with a medicine dropper)
- Wireless Off-Camera flash (Alternatively you can have someone assisting you and manually triggering your flash unit OR if you do not have a flash, you could use a light source pointing towards your background)
- Tripod
- Towel (Just in case water gets onto your flash / camera!)
- Pen
Equipment Settings For Water Drop
These are some of the initial settings that you should use. You may need to adjust it to fit your situation / setup. For example, if your photo is too dark, you may wish to adjust the power of your flash, or open up your aperture or increase your ISO.
Camera
- Manual mode
- Manual focus
- Aperture – f8.0
- Shutter speed – 1/250 s
- ISO 100
Flash
- Power – 1/16
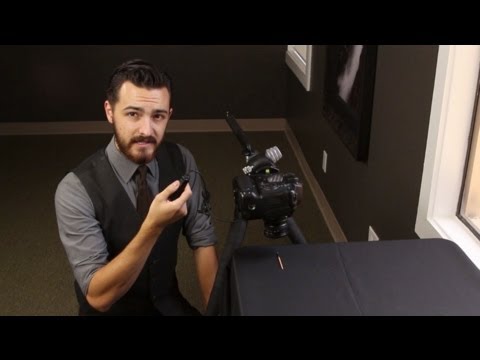
We stumbled upon a very good video by Gavin on water drops photography. This should help you take your very first water droplet shots –
httpv://www.youtube.com/watch?v=fwExpFDUC9Y
Water Drops Photography Tutorial
- Fill the container with water
- Fill the small plastic bag with water and hang above the container of water
- Tape your color background paper onto the back of your water container. You will want this to be angled towards the water in your container.
- Setup your camera and tripod
- Position your wireless off-camera flash towards the color background paper
- Poke a tiny hole into the small plastic bag to start your water drips
- To ensure you get the right focus – Place a pen into the water where the drips are falling and use auto focus to focus onto the pen. This will help you achieve the correct focus. Turn your focus to manual focus once this has been completed.
- Be patient and happy snapping!
Droplet Photography Tips
- Try using different backgrounds to achieve interesting reflections
- Try adding color dye to the water
- Try dripping other types of liquid such as milk, colored milk, etc
- Try using two water droppers to achieve different pattern of splashes
We hoped you enjoyed this water drops photography tutorial. If you enjoyed it, please LIKE the post and remember to share your photos with us!