Macro Photography How To Take Sharp Photos Tutorial

Macro photography Tip #1 – Take sharp photos by selecting an appropriate shutter speed
This macro photography how to tutorial will cover some of the photography techniques to ensure that your photos are sharp.
Whether we like it or not, we have all been victims of the gremlin that is hiding within our cameras – that darn gremlin that causes our photos to be blurry. It is really disappointing and heartbreaking to take a photo and only to find that the photo is blurry. In macro photography, sometimes you just don’t get a second chance to re-take that shot. This is especially true when you are taking photos of insects. By the time you find out that your photo is blurry, your subject may have already flown away.
So… it is very important to make every shot count and to ensure that you keep the following macro photography tips in mind when you take your next shot.
Macro Photography Tip #1 – Select an appropriate shutter speed to get sharp photos
When shooting hand-held, be aware of your shutter speed setting. Blurry photos are usually caused by long shutter speeds. In this scenario, there are a number of adjustments that you can make to reduce the blurriness on your photos.
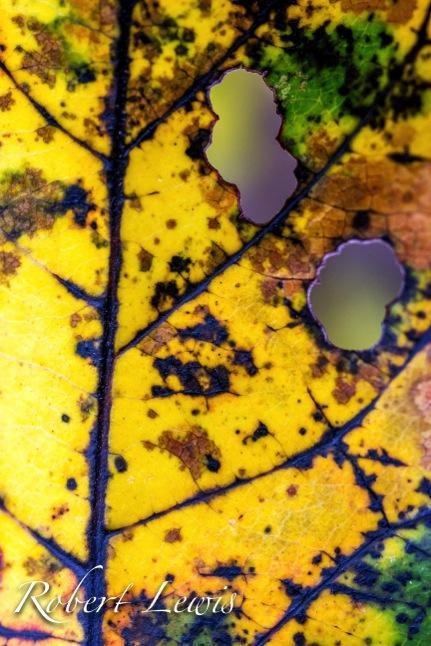
One solution is to increase the amount of light hitting your sensor by opening up your aperture. For example, choosing an aperture of f/2.8 instead of f/8.0. It is sometimes not possible to open up your aperture as this may not achieve the right composition result that you are after eg. you may wish to shoot your photo with a large depth of field (the background remains in focus).

Macro Photography Tip #1 – The aperture you use affects your shutter speed. A smaller aperture (f/8) allows less light into the camera than a larger aperture (f/2.8).
In this scenario you could consider increasing your ISO setting. By increasing the ISO setting, you will reduce the shutter speed on the shot. However, depending on your camera, there is usually a trade off between ISO setting and the quality of your photos. A high ISO setting will generally introduce ‘noise’ onto your photos and will decrease the quality of your photos (more grainy).
If you are commonly taking photos hand held, it is sometimes worthwhile to invest into a lens that has image stabilization. These lenses have been developed to reduce blurring associated with the motion of a camera during exposure. For Canon lenses, these are often branded as Image Stabilization (IS) lenses and for Nikon, the technology is more commonly known as Vibration Reduction (VR).
When shooting hand-held there is a quick way to determine if the shutter speed that you are using is appropriate. In order take sharp photos, you will need to ensure that your shuttle speed is faster than 1 / focal length of your lens. For example, if you were shooting at 100mm, you need to ensure that your shuttle speed is faster than 1/100 sec. If you shoot with a slower shuttle speed, your photo will be subjected to movement and will result in more blurriness.
Macro Photography Tip #2 – Shooting techniques to get sharp photos

Macro Photography Tip #2 – Shooting techniques to get sharp photos
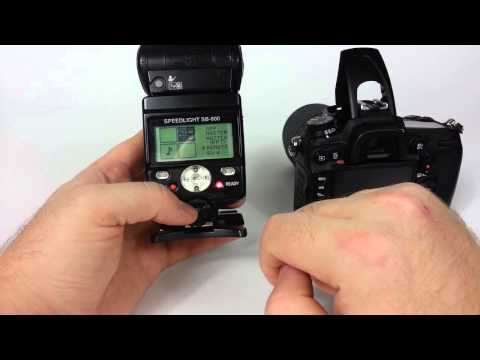
If the above scenarios do not improve the sharpness of your photos, you will need to consider using a flash. This will ultimately allow you to continue to take photos that require longer shutter speeds. If you do not have a flash or do not wish to use a flash there are a number of ways which you could try to reduce camera shake.
a) When you are shooting, bring your elbows towards your chest and press it against your chest for extra support.
b) When shooting subjects that are close to the ground, you may wish to leave the camera resting on the floor
c) If you are sitting down on the ground, you could have your foot flat on the ground and use your knee as a tripod by resting your elbow or camera onto your knee to increase stability
d) Take a breath in, hold your breath and press the shutter. Some people have success in taking the shot at the end of the exhale or during the exhale. Try the different ways and see which one works best for you.
If the above has not helped to reduce your camera shake, then you will have to consider using a tripod.
Macro Photography Tip #3 – Using a tripod to get sharp photos
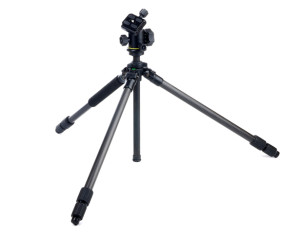
Macro photography Tip #3 – Use a tripod to reduce camera shake.
Using a tripod will help to eliminate some of the causes of camera shake. If you are still experiencing blurriness when using a tripod you may have to try the following –
When shooting on a tripod, it is recommended that you use the mirror lock function on your camera to reduce any vibrations caused by the mirror when you press the shutter button.
Additionally, use a remote trigger to take your photos to reduce any potential movement you may cause to the camera by pressing the shutter button. If you do not have a remote trigger, you can easily set your camera to take a photo based on a timer. This will ultimately reduce the amount of camera shake when you are taking the shot.
If you think this macro photography how to guide has helped you to keep the nasty gremlin locked away please share it with the rest of your friends!
You may also be interested in this Tripod –