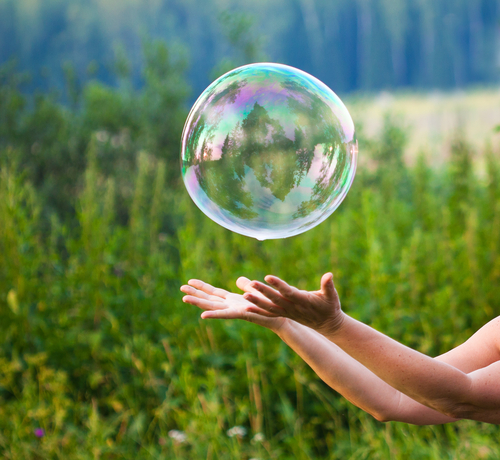
Macro Photography How To Tutorial – Master Bubble & Water Photography
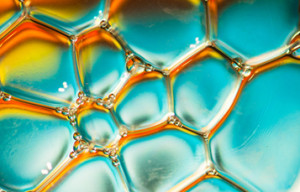
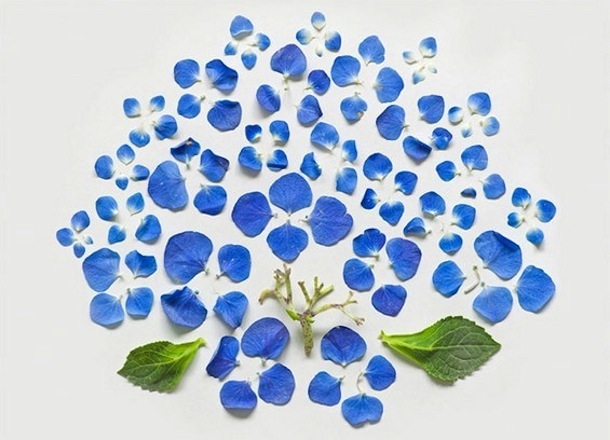
Macro Photography How To Tutorial – Adjust the size of your bubbles to generate a stunning pattern
Here is a macro photography how to tutorial on shooting bubbles and water. This is a very similar project to the Oil and Water how to tutorial that we previously published. It is very easy to produce and you can achieve very beautiful and mind numbing patterns. This is a very fun project and does not require much setup so it can definitely be done by a beginner or an advanced macro photographer. As always, all the equipment that you need for this project can be found in your house so happy hunting!
Macro Photography Equipment Required
- Camera + Lens (Macro or a Zoom – we used a 105mm Nikon Macro Lens)
- Tripod
Other Equipment Required

Macro Photography How To – Bubbles and Water Setup
- Coffee table with glass top *
- Lighting / Table lamp
- Glass dish (shallow)
- Dish washing liquid (Detergent) / Soap Liquid
- A jug of water
- Drinking straw
- A few A4 color papers OR colorful material (eg. Hand towel, table cloth, etc) – We used a dish drying table clothe for this project (orange, blue and yellow).
* If you do not have a glass top coffee table, you can remove the piece of glass from a photo frame. Each corner of the piece of glass will need to be propped up with books/cans/anything you can find. Possibly 2 stacked cans for each corner.
Macro Photography How To Tutorial – Bubbles and Water
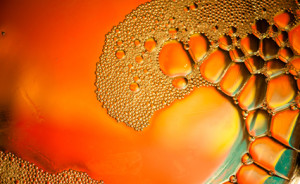
Macro Photography How To Tutorial – Re-creation of a tsunami wave with bubbles
- Clean glass dish and wipe dry
- Clean the glass on the coffee table and wipe dry OR
- If you are using the piece of glass from a photo frame, clean the glass and then prop each corner of the glass piece with a few books or drink cans
- Place the glass dish on the glass top of the coffee table / propped up piece of glass
- Place the A4 color papers OR colorful pattern material under the glass top of the coffee table / piece of glass. This will act as the background for your photos
- Place the lighting / table lamp under the glass top of the coffee table / propped up piece of glass. Turn on the light. Make sure that this is not in the way of your shot. This is should now light up the background material that you have selected
- Setup tripod over the top of the glass dish
- Mount camera onto the tripod and check that you can see the glass dish and the selected background
- Add a shallow layer of water into the glass dish
- Add a few drops of dish washing liquid or soap liquid into the dish
- Stir the dish washing liquid or soap liquid around to mix it all in
- Insert straw into the water and blow to create your bubbles. Here are some tips and techniques – If you blow harder into the straw you tend to get bigger bubbles and if you blow lighter and you get smaller bubbles. You can re-adjust the size of the bubble by piercing the bubble with your straw and blowing more into it. You can also create layers of bubbles within bubbles by piercing the bubble and blowing into the water again.
- Have fun and aim and shoot on your camera. Make sure you use a remote trigger or a timer to reduce camera shake.
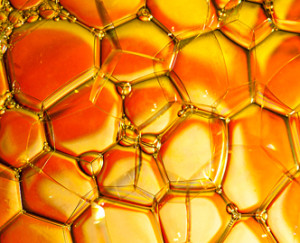
Macro Photography How To Tutorial – Create bubbles within bubbles in your composition to add a new dimension
This brings us to the end of the macro photography how to tutorial on bubbles and water. It was a very fun project and I hope you enjoyed it as much as I did! If you liked it, please share it with your friends and family and make sure you sign up to our newsletter so that you receive all of our new tutorials.
You may be interested in –